6. Management UI#
This section addresses Guardian administrators who want to manage roles and related objects which can grant permissions to users.
The Guardian Management UI app provides a web interface to manage some of the features of the REST API of the Guardian Management API app. The following sections describe which functions you can perform with the web interface.
You can access the Management UI at
https://domainname/univention/guardian/management-ui.
For the domainname use the UCS system’s hostname where you installed the Management UI.
The installation of the Management UI creates a portal entry
in the Administration category of the default
domain portal, cn=domain,cn=portal,cn=portals,cn=univention,$ldap_base.
With the default configuration, a user who wants to use the Management UI as a guardian administrator
needs the role guardian:builtin:super-admin.
For a detailed explanation of the terms roles, capabilities, namespaces, and contexts, refer to Terminology.
After you entered the Management UI, you see a navigation menu with the entries ROLES, NAMESPACES and CONTEXTS, and a search bar with filters and a table as shown in Fig. 6.1.
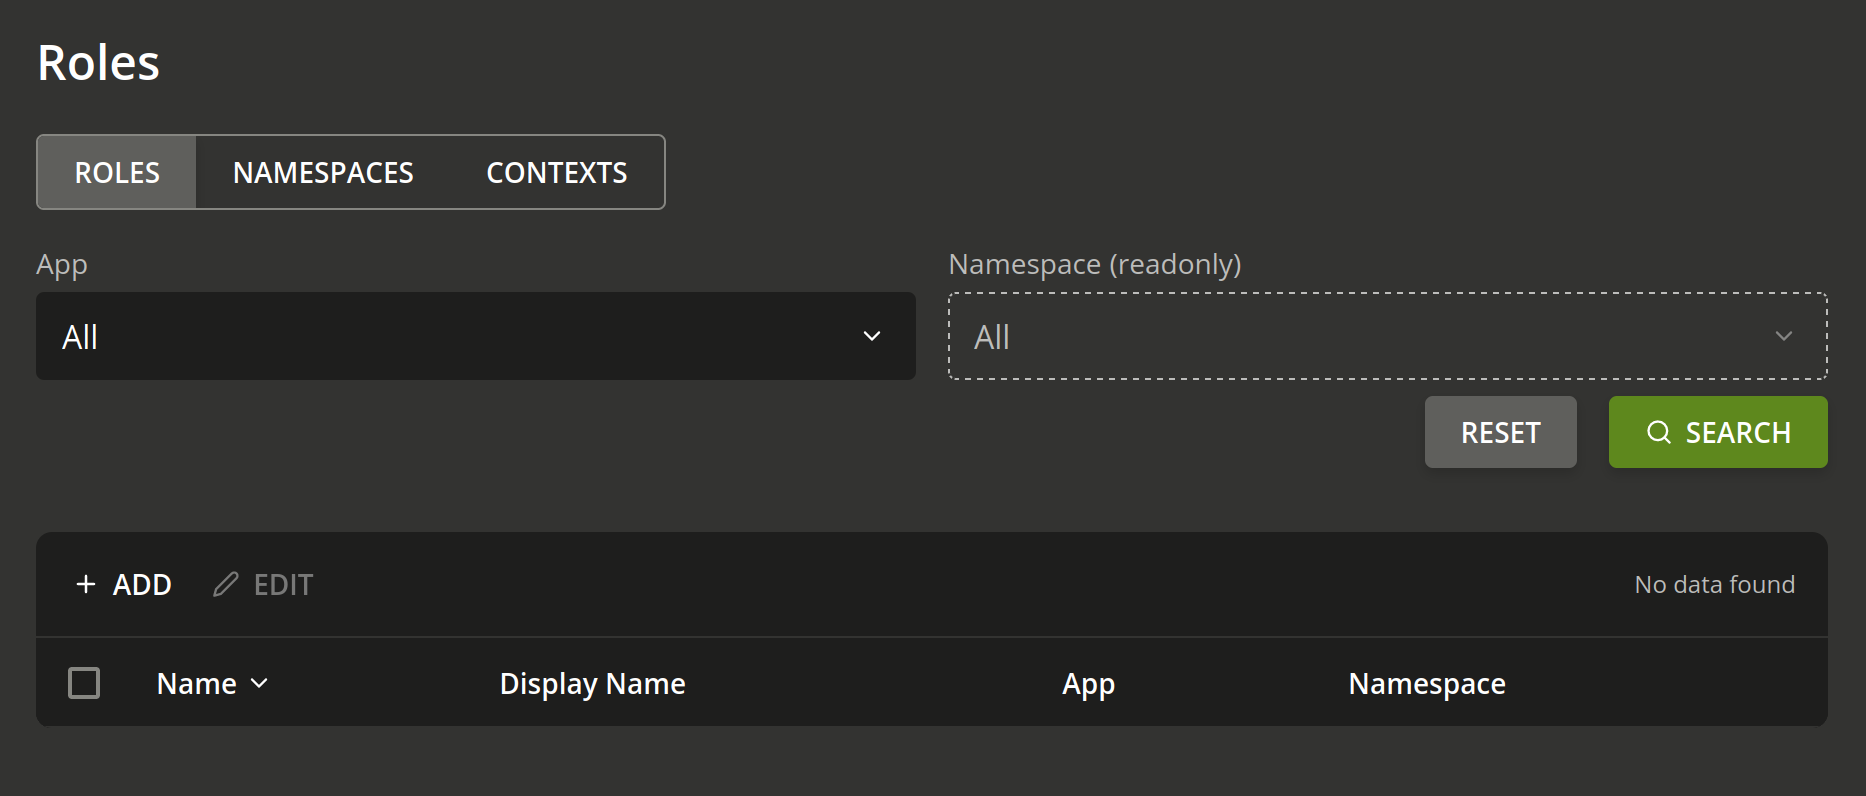
Fig. 6.1 The front page of the Guardian Management UI.#
You can view and manage the object types role, namespace, and context by navigating between them using the navigation menu, as described in the following sections. You manage capabilities while editing a role.
Tip
You can only manage the apps in the App drop-down through the REST API provided by the Management API. If you want to integrate your app with the Guardian, refer to Developer quick start.
In the search view for any of the object types, you can filter by app and namespace, except for namespaces themselves, which can only be filtered by an app.
Limitation for search criteria
Including properties of an object, such as its Display Name, in the search criteria isn’t supported.
6.1. Roles#
You can use the Management UI to manage roles. A role contains capabilities. An app and a namespace define roles. The Guardian derives permissions from the role and its capabilities. For more information about the fundamental concepts, refer to Role in Terminology.
6.1.1. Create a role#
This section describes how to create a role in the Management UI.
To create a role, first open the Management UI and click ROLES in the navigation menu.
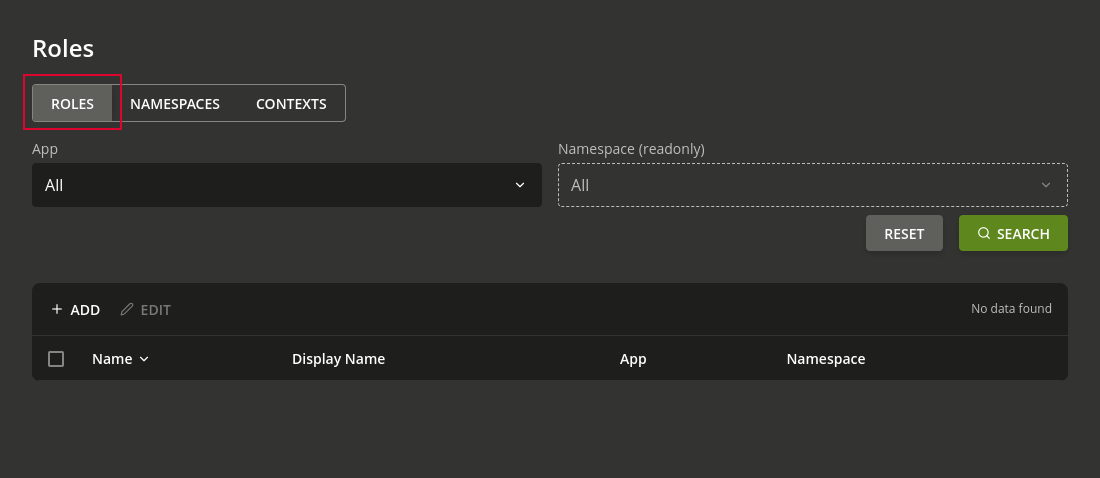
Fig. 6.2 Link to the roles page.#
To open the page to create a role, click the + ADD button.
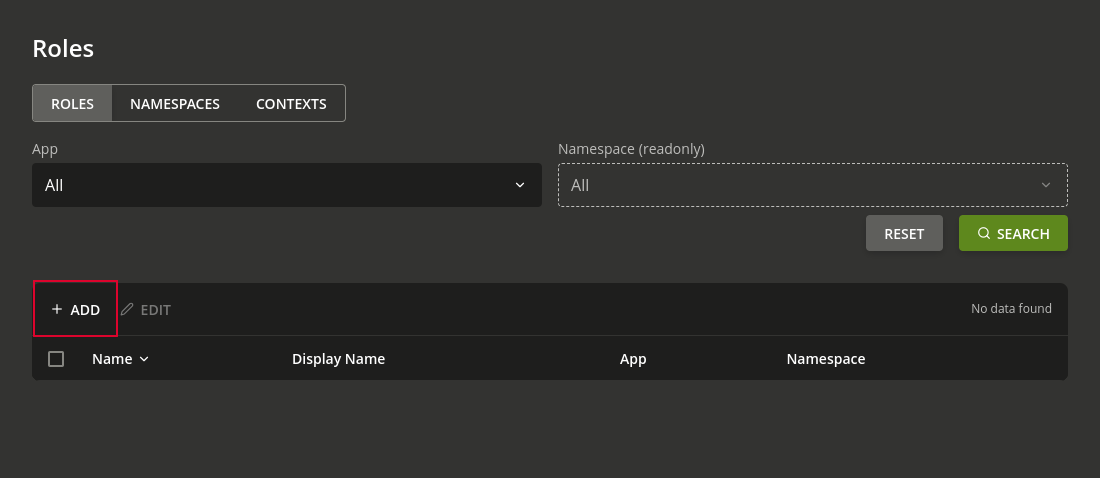
Fig. 6.3 Click + ADD to create a role.#
The page to create a role looks like Fig. 6.4.
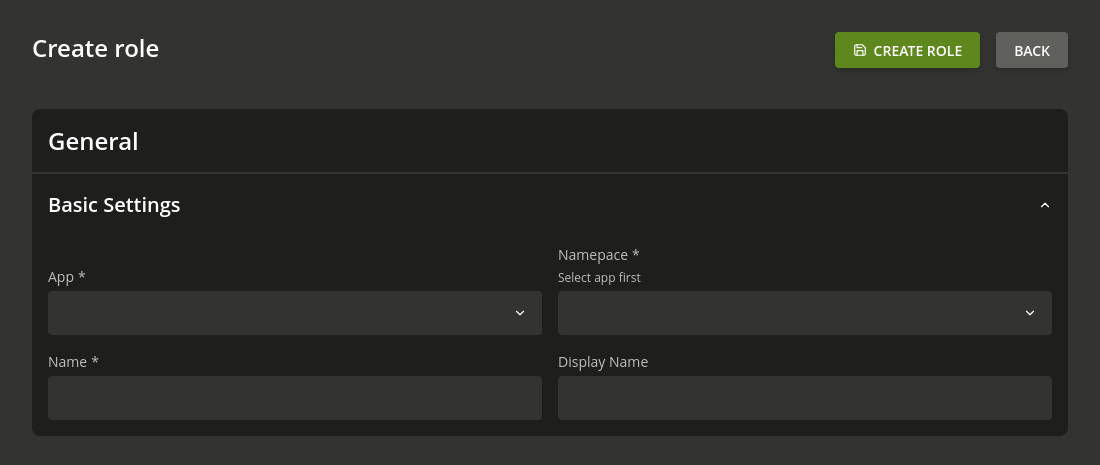
Fig. 6.4 Page to create a role.#
Fill out all the necessary fields. To create the role, click the CREATE ROLE button. A dialog confirms the creation and shows the role name.
Hint
The selectable options for the Namespace box depend on the selected app in the App box. You have to select an app first before you can select a namespace. If you selected an app and still don’t see any selectable namespaces that means that there are no namespaces for that app. Refer to Create a new namespace.
Hint
You can only manage capabilities on existing roles.
If you create a role and want to manage its capabilities, first create the role with the CREATE ROLE button and then manage capabilities as described in Capabilities of a role.
6.1.2. Listing and searching roles#
This section describes how to list and search roles in the Management UI.
To list existing roles, open the Management UI. Click ROLES in the navigation menu.

Fig. 6.5 Link to the “Roles” page.#
To search for existing roles, click the SEARCH button. The results show up below the button. To narrow the search results, select the specific app in the App drop-down and the namespace of the selected app in the Namespace drop-down.

Fig. 6.6 Form elements for the search of roles.#
See also
For information about how to manage the namespace for the Namespace drop-down, refer to Namespaces.
6.1.3. Editing existing roles#
This section describes how to edit existing roles in the Management UI.
To edit a role, follow the steps in Listing and searching roles to list them and then click the name of the role that you want to edit.
Fig. 6.7 Edit button for listed roles.#
The role editing window has two pages.
Fig. 6.8 shows the first page where you edit the direct properties of the role. It shows up first when you open a role. To open the page from a different location, click ROLE in the navigation menu. Edit the fields you want to change. To save the changes, click SAVE.

Fig. 6.8 View and edit page of an existing role.#
Fig. 6.9 shows the second page where you manage the capabilities of the current role. To open the page from a different location, click CAPABILITES in the navigation menu.
The page list all capabilities of the role. You can edit and manage them here. You can also create capabilities for that role or delete existing ones. For more details on capabilities, see Capabilities of a role.
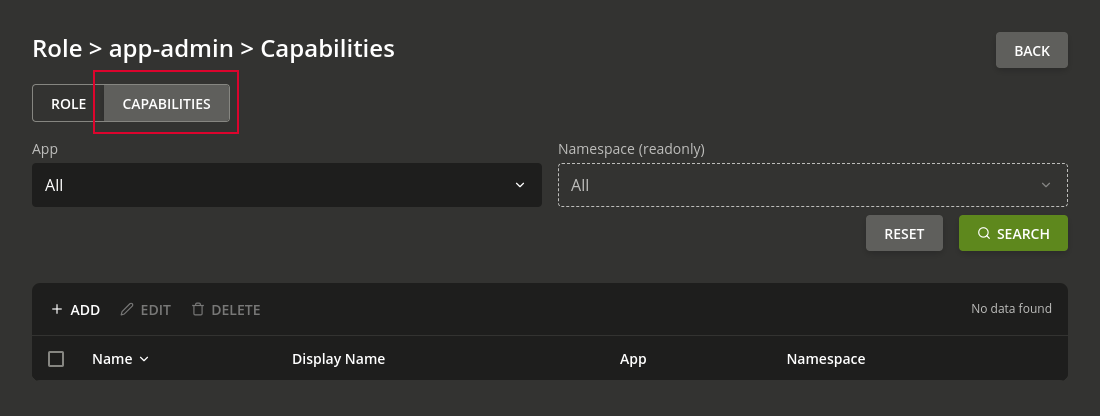
Fig. 6.9 Link to the “Capabilities” page of an existing role.#
6.1.4. Deleting roles#
Deleting roles isn’t supported. Neither through the web-interface nor the REST API.
6.2. Capabilities of a role#
Capabilities serve as the means to manage the permissions that the role grants to the user it’s attached to.
Each capability object can define one ore more permissions. You can only select permissions for a specific app and namespace. If you want to grant permissions for different apps or namespaces you have to create multiple capability objects.
Inside a capability object you can also add conditions that influence whether the permissions are actually granted.
The capabilities work on an allow list principle and don’t collide.
Hint
You can only manage capabilities on existing roles.
If you create a role and want to manage its capabilities, first create the role and then edit the role to manage its capabilities.
6.2.1. Create a capability for a role#
This section describes how to create a capability for a role in the Management UI.
To add a capability for a role, click CAPABILITES in the navigation menu while you edit a role. For details on editing a role, refer to Editing existing roles.
To open the page to create a capability, click the + ADD button .

Fig. 6.10 Click + ADD to create a capability.#
The page to create a capability looks like Fig. 6.11.
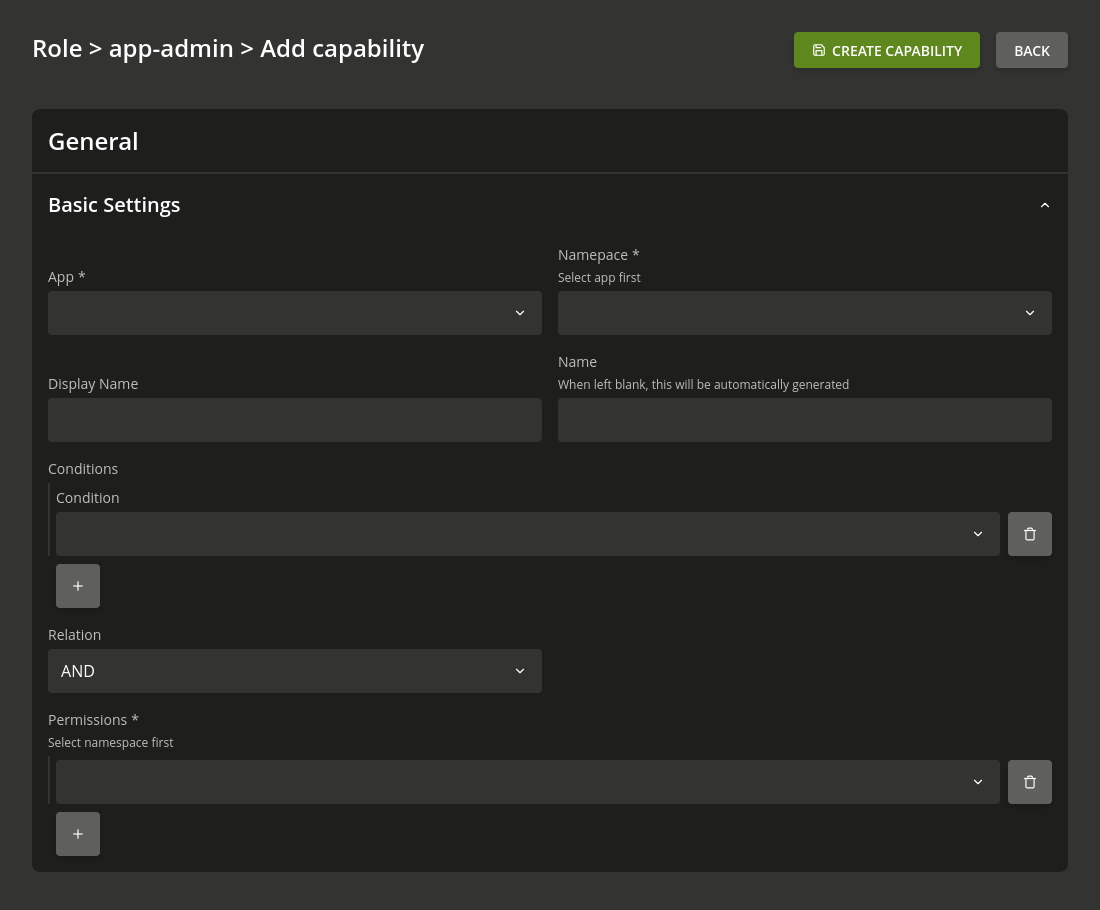
Fig. 6.11 Page to create a new capability.#
To create the capability fill out all the necessary fields and click the CREATE CAPABILITY button. A dialog confirms the creation by showing the capability name.
The following noteworthy fields are the list of Permissions, the list of Conditions and the Relation.
- Permissions
In the Permissions list you can edit all permissions that the capability grants if the conditions in the Conditions list are true. The available permissions base on the selected app in the App drop-down and namespace in the Namespace drop-down. You can’t select any permissions before filling out both of these fields.
Hint
If you filled out both the App drop-down and Namespace drop-down, and you still can’t select permissions, this means that no permissions exist for that app and namespace.
- Conditions
In the Conditions list you can edit all the conditions that the Guardian validates before it grants the permissions in the Permissions list. Some conditions require additional parameters. After you select a condition, additional fields show up underneath the condition.

Fig. 6.12 Condition with extra parameters.#
See also
For more information about conditions, refer to Conditions Reference.
- Relation
The value of the Relation drop-down describes how the Authorization API evaluates conditions during authorization. AND means all conditions must evaluate to true and OR means only one condition must evaluate to true.
6.2.2. Listing and searching capabilities of a role#
This section describes how to list and search capabilities of a role in the Management UI.
To list capabilities of a role, click CAPABILITES in the navigation menu while editing a role. For more details on editing a role, refer to Editing existing roles.
On this page, to search for capabilities of the role you are editing, click the SEARCH button. The results shown up below the button. To narrow the search results, select a specific app in the App drop-down, and a namespace of the selected app in the Namespace drop-down.

Fig. 6.13 Form elements for the search of capabilities.#
See also
To manage the namespaces in the Namespace drop-down, refer to Namespaces.
6.2.3. Edit a capability of a role#
This section describes how to edit a capability of a role in the Management UI.
To edit a capability of a role, you must first list it. To list a capability, follow the steps in Listing and searching capabilities of a role. To edit a capability, click the name of the capability you want to edit in the search results list.

Fig. 6.14 Edit button for listed capabilities.#
The page to edit a capability looks like Fig. 6.15.
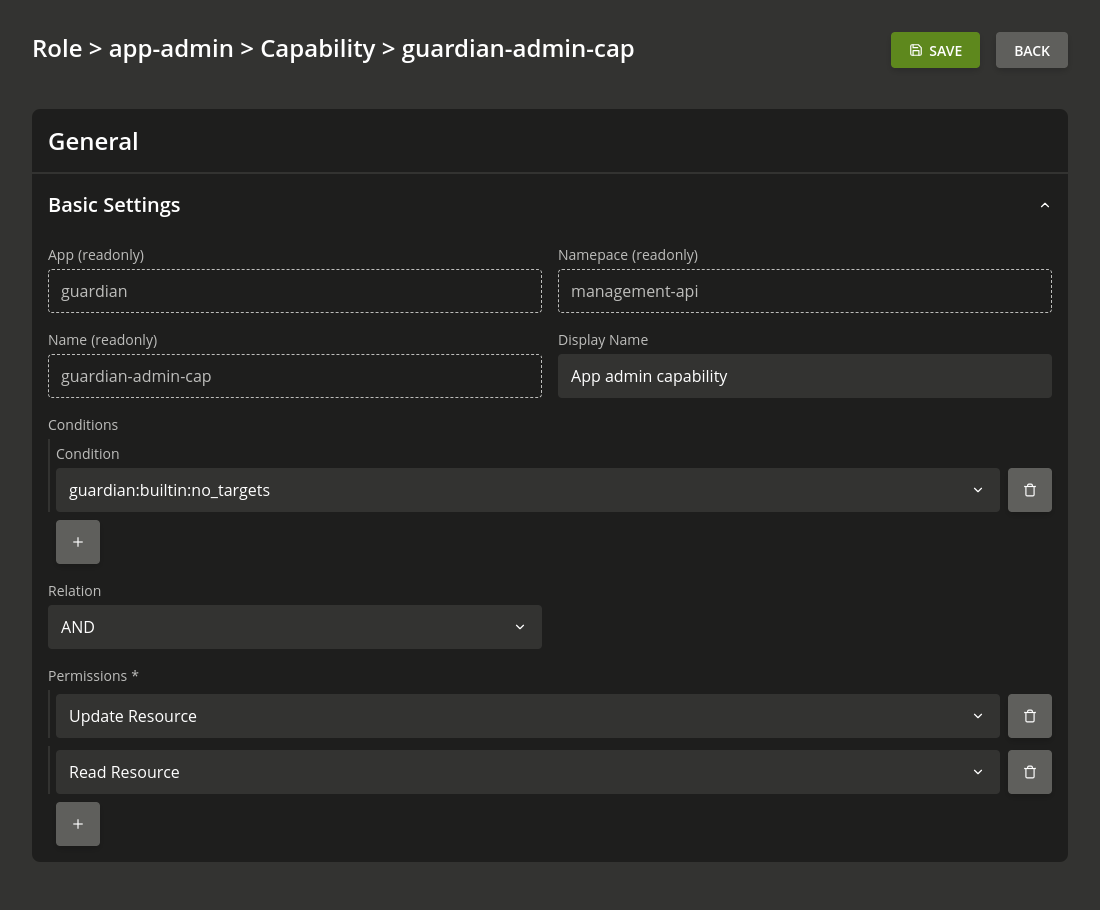
Fig. 6.15 View and edit page of an existing capability.#
The following noteworthy fields are the list of Conditions, the Relation and the list of Permissions.
- Permissions
In the Permissions list you can edit all permissions that the capability grants if the conditions in the Conditions list are true.
- Conditions
In the Conditions list you can edit all the conditions that the Guardian validates before it grants the permissions in the Permissions list. Some conditions require additional parameters. After you select a condition, additional fields show up underneath the condition.
Fig. 6.16 Condition with extra parameters.#
See also
For more information about conditions, refer to Conditions Reference.
- Relation
The value of the Relation drop-down describes how the Authorization API evaluates the selected conditions of the Conditions. AND means that all conditions must be true. OR means that only one condition must be true.
6.2.4. Delete capabilities of a role#
This section describes how to delete a capability of a role in the Management UI.
To delete capabilities, you must first click CAPABILITES in the navigation menu while editing a role. For more details on editing a role, refer to Editing existing roles.
Search and select all the capabilities you want to delete, then click the DELETE button.

Fig. 6.17 Deletion of capabilities.#
6.3. Namespaces#
A namespace is a means to categorize roles and permissions. You can create, view, edit, and search namespaces with the Management UI. For more information about namespaces, refer to Namespace in Terminology.
6.3.1. Create a new namespace#
This section describes how to create a namespace in the Management UI.
To create a namespace, first open the Management UI and click NAMESPACES in the navigation menu.

Fig. 6.18 Link to the “Namespaces” page.#
To open the page to create a namespace, click the + ADD button.

Fig. 6.19 Click + ADD to create a namespace.#
The page to create a namespace looks like Fig. 6.20.
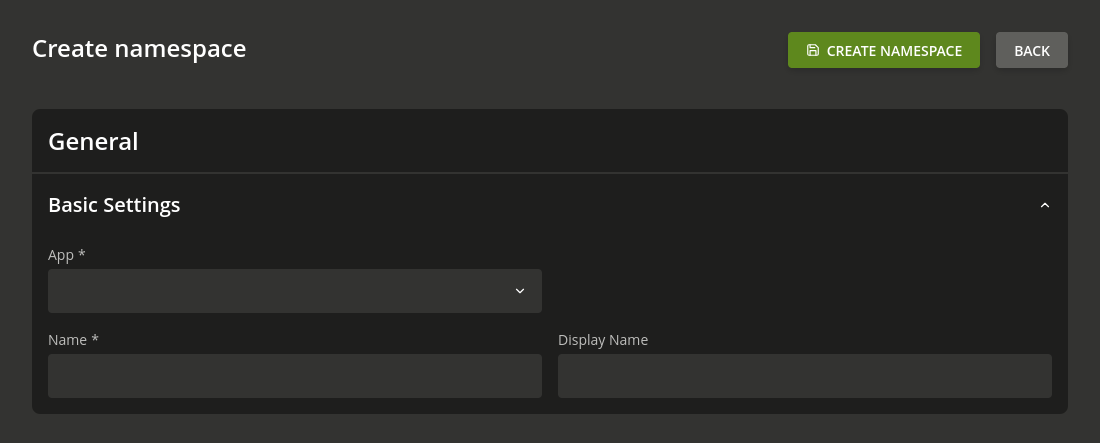
Fig. 6.20 Page to create a namespace.#
Fill out all the necessary fields. To create the namespace, click the CREATE NAMESPACE button. A dialog confirms the creation by showing the namespace name.
6.3.2. Listing and searching namespaces#
This section describes how to list and search namespaces in the Management UI.
To list existing namespaces open the Management UI and click NAMESPACES in the navigation menu.
Fig. 6.21 Link to the “Namespaces” page.#
On this page, to search for namespaces, click the SEARCH button. The results show up below the button. To narrow the search results, select a specific app in the App drop-down.

Fig. 6.22 Form elements for the search of namespaces.#
6.3.3. Editing existing namespaces#
This section describes how to edit existing namespaces in the Management UI.
To edit a namespaces, you must first list it. To list a namespace, follow the steps in Listing and searching namespaces. To edit a namespace, click the name of the namespace you want to edit in the search results list.
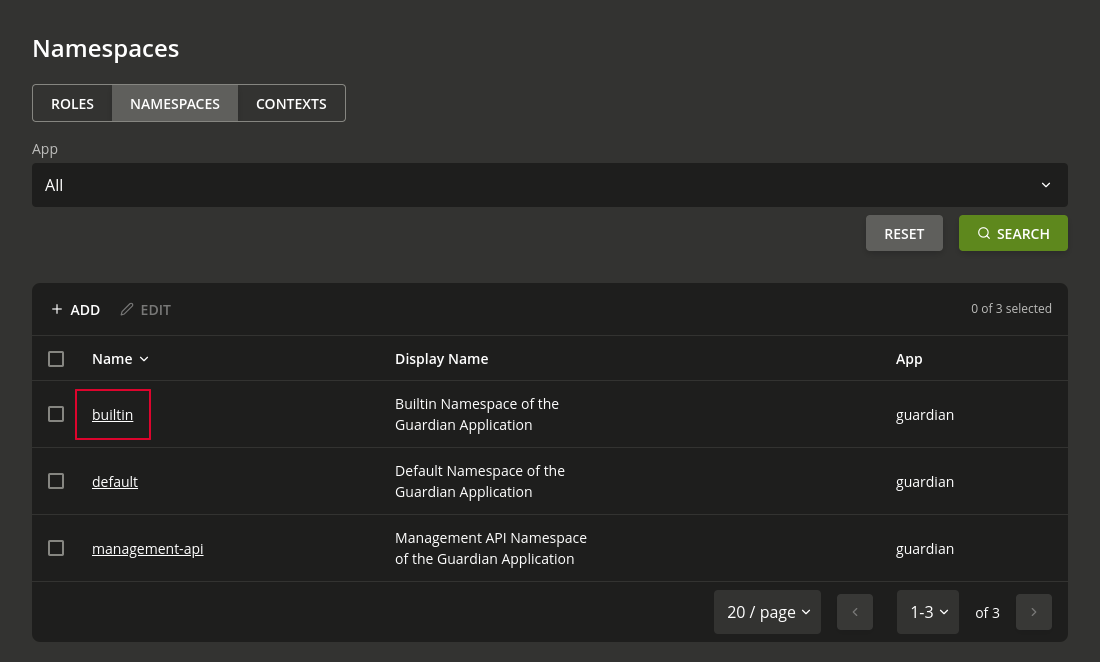
Fig. 6.23 Edit button for listed namespaces.#
The page to edit the namespace you clicked looks like Fig. 6.24.

Fig. 6.24 View and edit page of an existing namespace.#
6.3.4. Deleting namespaces#
Deleting namespaces isn’t supported. Neither through the web-interface nor the REST API.
6.4. Contexts#
A context is an additional tag that you can apply to a role, to make it only apply in certain circumstances. With the Management UI you can create, view, edit, and search a context. For more information about contexts, refer to Context in the Terminology section.
6.4.1. Create a context#
This section describes how to create a context in the Management UI.
To create a context first open the Management UI and click CONTEXTS in the navigation menu.
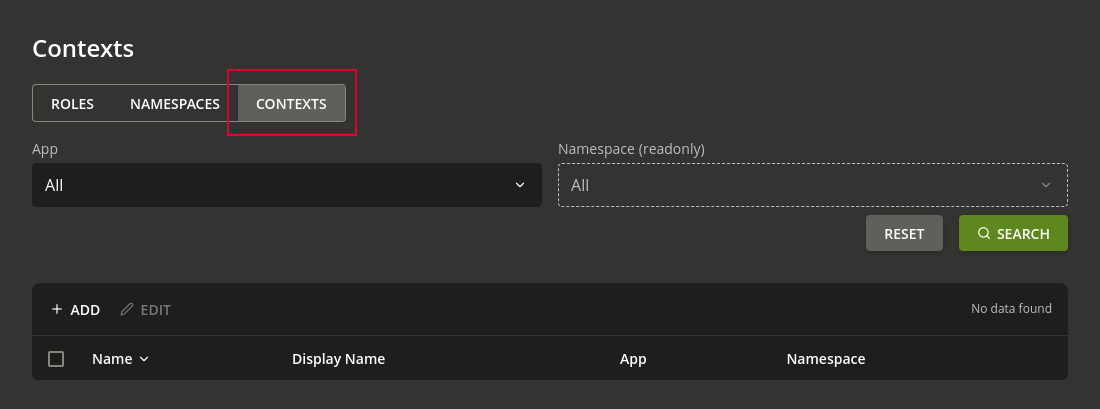
Fig. 6.25 Link to the “Contexts” page.#
To open the page to create a context, click the ADD button.
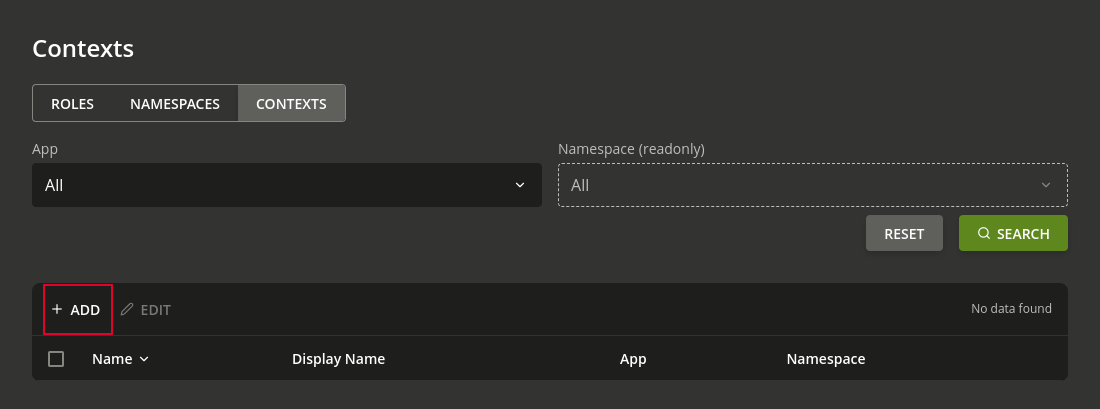
Fig. 6.26 Click + ADD to create a context.#
The page to create a context looks like Fig. 6.27.

Fig. 6.27 Page to create a context.#
Fill out all the necessary fields. To create the context, click the CREATE CONTEXT button. A dialog confirms the creation by showing the context name.
6.4.2. Listing and searching contexts#
This section describes how to list and search a context in the Management UI.
To list existing contexts open the Management UI and click CONTEXTS in the navigation menu.
Fig. 6.28 Link to the “Contexts” page.#
On this page, to search for contexts, click the SEARCH button. The results show up below the button. To narrow the search results, select a specific in the App drop-down, and a namespace of the selected app in the Namespace drop-down.

Fig. 6.29 Form elements for the search of contexts.#
See also
To manage the namespaces in the Namespace drop-down, refer to Namespaces.
6.4.3. Editing existing contexts#
This section describes how to edit a context in the Management UI.
To edit a context, you must first list it. To list a context, follow the steps in Listing and searching contexts. To edit a context, click the name of the context you want to edit in the search results list.
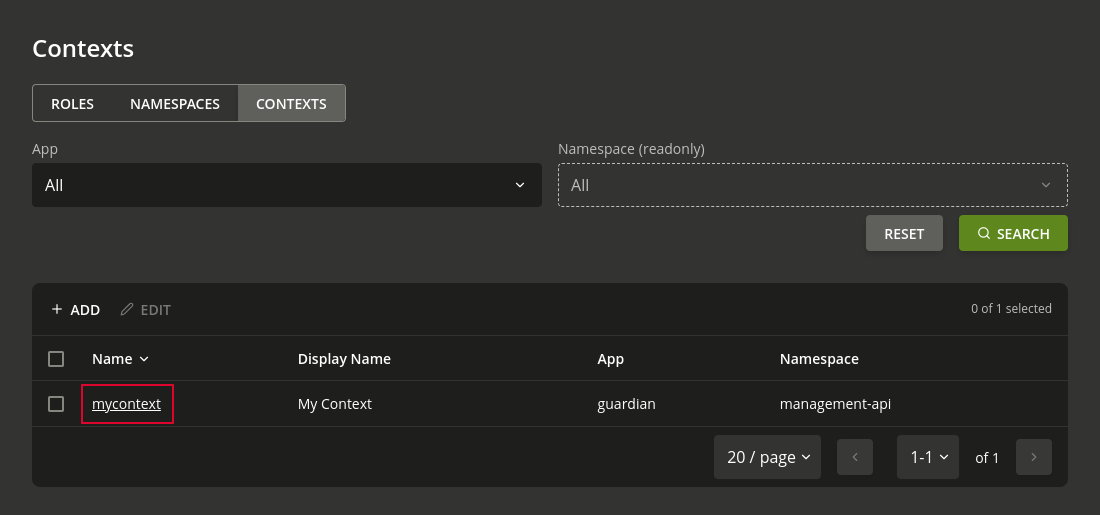
Fig. 6.30 Edit button for listed contexts.#
The page to edit the context you clicked, looks like Fig. 6.31.

Fig. 6.31 View and edit page of an existing context.#
6.4.4. Deleting contexts#
Deleting contexts isn’t supported. Neither through the web-interface nor the REST API.