5.2. User creation wizard#
The user creation wizard streamlines account creation for functional administrators by requiring only essential user information. After reading this page, you know how to create user accounts quickly, configure password options including email invitations, and customize the wizard’s behavior for your environment. The user creation wizard is part of the Users management module in the Management UI.
To create a user account through the user creation wizard, use the following steps:
To open the wizard, open the Users module and click Add. Select a user template or keep the selection at None. Click Next.
Provide values for the mandatory fields Last name and User name. Fill in the optional fields as you like, and as shown in Fig. 5.1. Click Next.
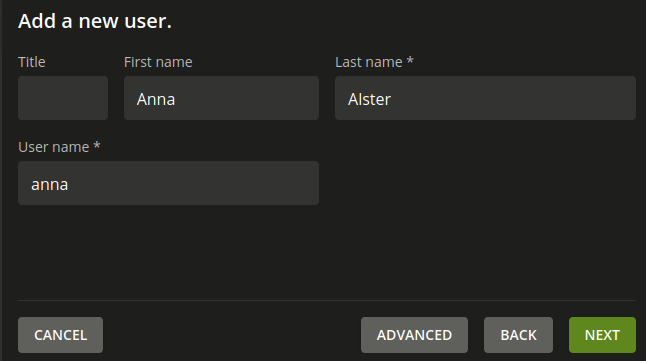
Fig. 5.1 Add a user through the user creation wizard in the Users management module#
Define a user password.
Alternatively, you can also delegate the definition of the password to the user with an invitation through email. For more information, see Require primary email address in user creation wizard in Nubus for UCS - Operation Manual [2].
For additional properties to control the user account setup, such as invite users or change password on next sign-in:
Control account properties for user setup in Nubus for UCS - Operation Manual [2].
Control account properties for user setup in Univention Nubus for Kubernetes - Operation Manual [1].
To provide more attributes for the user account than the wizard requests, click Advanced and continue with Advanced user account settings in the Users management module.
To save the user account, click Create user.
5.2.1. Deactivate user creation wizard#
You can deactivate the user creation wizard. Use the following steps depending on your installation.
To deactivate the user creation wizard in the Users management module on Nubus for UCS, apply the following steps to every Nubus for UCS system in your UCS domain:
Set the UCR variable
directory/manager/web/modules/users/user/wizard/disabledto the valuetrue.Restart the univention-management-console-server.
To deactivate the user creation wizard in Nubus for Kubernetes, your cluster operator needs to update the configuration. For the steps, see Deactivate user creation wizard in Univention Nubus for Kubernetes - Operation Manual [1].
5.2.2. Primary email address in user creation wizard#
If you want to define the user’s primary email address in the user creation wizard, you can activate the proper field in the wizard. Depending on your installation, you need to use the following steps.
Apply the following steps to every Nubus for UCS system in your UCS domain:
Activate the field by setting the UCR variable
directory/manager/web/modules/users/user/properties/mailPrimaryAddress/requiredto the valuetrue.Restart the univention-management-console-server.
To set up the primary email address as a required attribute in Nubus for Kubernetes, your cluster operator needs to activate the configuration. For the steps, see Require primary email address in user creation wizard in Univention Nubus for Kubernetes - Operation Manual [1].
The user creation wizard then asks for the user’s primary email address, as shown in Fig. 5.2.
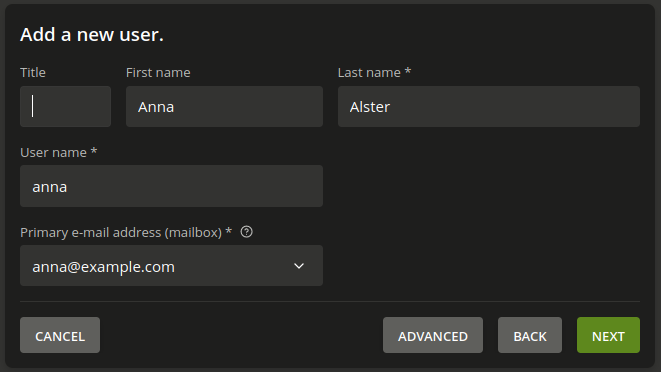
Fig. 5.2 Require setting the user’s primary email address in the wizard#