4.2. Login#
UCS provides a central login page.
You can sign in to the UCS web interface with the credentials of the respective domain account.
On the portal at https://FQDN/univention/portal/ you can use the following ways to sign in:
Click the tile Login on the portal page.
Go to .
It opens the login page as shown in Fig. 4.2.
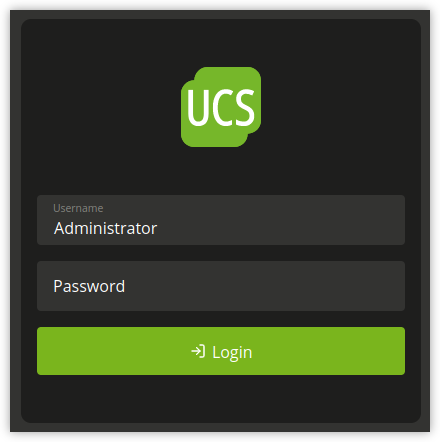
Fig. 4.2 UCS sign-in page#
If a page in the management system, such as a UMC module, requires a login, your browser redirects you to the central login page.
When you sign in at the local UCS system,
the browser session closes by default after 8 hours of inactivity.
You can change the timeout through the UCR variable umc/http/session/timeout.
To get a new the session, the user must sign in again.
To sign out of the management system, click Logout in the user menu.
By installing a third-party application, such as privacyIDEA, it’s possible to extend the UCS web interface authentication with a two-factor authentication (2FA).
4.2.1. Refresh portal tabs on logout#
All browser tabs where the user is logged into the portal will automatically refresh when a logout is detected.
This feature is deactivated by default and can be toggled through the UCR Variable portal/reload-tabs-on-logout.
4.2.2. Choose the right user account#
To sign in, enter the Username and Password of the corresponding domain account in the login mask.
AdministratorWhen you sign in with the
Administratoraccount on a Primary Directory Node or Backup Directory Node, the UCS management system shows the UMC modules for the administration and configuration of the local system, as well as, UMC modules for the administration of data in the domain.You specified the initial password for the
Administratoraccount in the setup wizard during installation. The password corresponds to the initial password of the localrootaccount. Use theAdministratoraccount for the initial sign in at a newly installed Primary Directory Node.rootIn some cases, it might be necessary to sign in with the system’s local
rootaccount. For more information, refer to Administrative access with the root account. Therootaccount only enables access to UMC modules for the administration and configuration of the local system.- Other user accounts
When you sign in with another user account, the UCS management system shows the UMC modules approved for the user. For additional information on allowing further modules, refer to Delegated administration for UMC modules.
4.2.3. Single sign-on#
By default, the login page for the portal has single sign-on deactivated. The following sections describe how to activate single sign-on. After a successful sign in, the session is valid for all UCS systems of the domain, as well as, for third party apps, if the apps support web based single sign-on.
For sign-in through single sing-on, the browser session closes for 8 hours of inactivity. To get a fresh session, the user must sign in again.
It’s possible to enforce the sign in on the local system by clicking the link Login without Single Sign On on the login page, as show in Fig. 4.3.
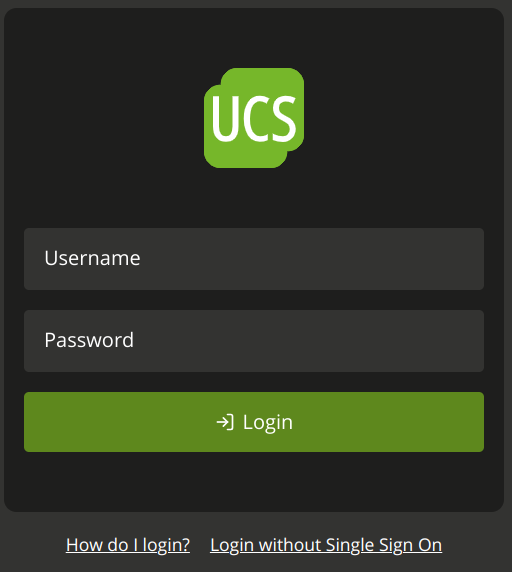
Fig. 4.3 UCS sign-in page for single sign-on#
4.2.3.1. SAML for single sign-on#
UCS has SAML activated by default. This section describes how to activate it for the Login buttons in the Portal. For more information about SAML, refer to SAML identity provider.
Activate#
To activate single sign-on through SAML, use the following steps:
Ensure that all users in your domain who want to use the portal and the UCS management system with single sign-on can reach
ucs-sso.[Domain Name].Change the Univention Configuration Registry Variable
portal/auth-modetosamlwithucr set. The default value wasucs.For the change to take effect, restart the portal server with the following command:
$ systemctl restart univention-portal-server.service
Update sign-in links#
Restarting the portal server automatically updates the Login link in the user menu. You must manually update the portal tile. The default portal has a preconfigured single sign-on login tile. Use the portal edit mode to enable it. To replace the Login tile with the single sign-on tile, follow these steps:
In Univention Management Console open the UMC Module Portal: .
To activate the preconfigured sign in tile for SAML, edit the entry
login-saml, scroll down to the section Advanced and activate the checkbox Advanced.To deactivate the default sign in tile, edit the entry
login-ucs, scroll down to the section Advanced and deactivate the checkbox Advanced.
To change back to the default sign-in in UCS without single sign-on,
you need to revert the steps for updating the portal tile
and set the UCR variable portal/auth-mode to ucs.
4.2.3.2. OpenID Connect for single sign-on#
Added in version 5.0-8-erratum-1118: With UCS 5.0 erratum 1118 the portal and the UCS management system have the capability to allow single sign-on with OpenID Connect. The capability is deactivated by default.
OpenID Connect (OIDC) is a protocol that allows single sign-on. OIDC is a more lightweight protocol than SAML. It’s one variant for using single sign-on in the portal and the UCS management system. This section describes how to use it with UCS.
Requirements#
Before you can use OIDC for single sign-on, you must meet the following requirements:
You must at least have UCS 5.0 erratum 1118 installed throughout your UCS domain.
For information about how to upgrade, refer to Updates of UCS systems.
You must have the app Keycloak installed in your UCS domain.
For information about the installation of Keycloak, refer to Installation in Univention Keycloak app documentation [4].
Activation#
First, you need to decide on which UCS systems you want to enable single sign-on using OpenID Connect. Second, you need to apply the following steps to each of those UCS systems.
Deactivate SAML for portal sign-in through the UCR variable
umc/web/sso/enabledso that the automatic to sign in again doesn’t try SAML first, but instead uses OIDC directly.Change the Univention Configuration Registry Variable
umc/web/oidc/enabledtotruewithucr set.$ ucr set \ umc/web/sso/enabled=false \ umc/web/oidc/enabled=true
Run the join script for the UMC web server:
$ univention-run-join-scripts \
   --force \
   --run-scripts \
   92univention-management-console-web-server.inst
Change the Univention Configuration Registry Variable
portal/auth-modetooidcwithucr set. The default value wasucs.For the change to take effect, restart the portal server with the following command:
$ systemctl restart univention-portal-server.service
Create sign-in links#
Restarting the portal server automatically updates the Login link in the user menu. You can optionally create a portal tile for the sign-in with OpenID Connect on the Primary Directory Node with the commands in Listing 4.1.
$ udm portals/entry create --ignore_exists \
    --position "cn=entry,cn=portals,cn=univention,$(ucr get ldap/base)" \
    --set name=login-oidc \
    --append displayName="\"en_US\" \"Login (Single sign-on)\"" \
    --append displayName="\"de_DE\" \"Anmelden (Single Sign-on)\"" \
    --append description="\"en_US\" \"Log in to the portal\"" \
    --append description="\"de_DE\" \"Am Portal anmelden\"" \
    --append link='"en_US" "/univention/oidc/?location=/univention/portal/"' \
    --set anonymous=TRUE \
    --set activated=TRUE \
    --set linkTarget=samewindow \
    --set icon="$(base64 /usr/share/univention-portal/login.svg)"

$ udm portals/category modify --ignore_exists \
    --dn "cn=domain-service,cn=category,cn=portals,cn=univention,$(ucr get ldap/base)"\
    --append entries="cn=login-oidc,cn=entry,cn=portals,cn=univention,$(ucr get ldap/base)"
Verification and log files#
To verify that the setup works,
open the URL https://FQDN/univention/oidc/ in a web browser, such as Mozilla Firefox,
and sign in.
Open a UMC module, such as Users, and perform a search.
You find relevant logging information in the following locations:
Log file:
/var/log/univention/management-console.server.logjournald: journalctl -u slapd.service
To reflect the changes for the login method in the portal,
you need to edit the Login tile manually,
similar to the setup with SAML for single sign-on.
The link must point to /univention/oidc/.
Deactivate#
First, you need to decide on which UCS systems you want to deactivate single sign-on using OpenID Connect. Second, you need to apply the following steps to each of those UCS systems.
Unset the Univention Configuration Registry Variable
umc/web/oidc/enabledwithucr unset:$ ucr unset umc/web/oidc/enabled
Remove the OIDC RP from Keycloak with the following command:
$ univention-keycloak oidc/rp remove \
   "$(ucr get umc/oidc/$(hostname -f)/client-id)"
Unset all Univention Configuration Registry Variables that you can find with the following searches:
$ ucr search --brief --key ^umc/oidc
$ ucr search --brief --key ^ldap/server/sasl/oauthbearer
Remove the OIDC secret from the system and restart affected services:
$ rm -f \
   /etc/umc-oidc.secret \
   /usr/share/univention-management-console/oidc/http*
$ systemctl restart slapd univention-management-console-server
Manually update the portal tile for Login, so that the link points to
/univention/login/.Change the Univention Configuration Registry Variable
portal/auth-modetoucswithucr setand restart the portal server.
Identity Provider with non-standard FQDN#
By default, the FQDN for the Keycloak identity provider is ucs-sso-ng.$domainname.
However, it’s possible to configure a different FQDN for the identity provider.
For more information,
see Configuration of the identity provider in Univention Keycloak app documentation [4].
If you have such a setup,
you have to configure the identity provider
for the OpenID Connect authentication in UMC on each UCS system.
Change the Univention Configuration Registry Variable umc/oidc/issuer to the FQDN of your Keycloak identity provider
and run the join script of the UMC web server again,
as shown in
Listing 4.2.
$ IDP="auth.extern.test"
$ ucr set umc/oidc/issuer="https://$IDP/realms/ucs"
$ univention-run-join-scripts --force \
   --run-scripts 92univention-management-console-web-server
Non-standard FQDN for the Univention Portal and UMC#
By default, the UMC is available under the FQDN $hostname.$domainname.
If you have a setup with a different FQDN for the UMC you have to change the
Univention Configuration Registry Variable umc/oidc/rp/server to the FQDN of
the UMC, and run the join script of the UMC web server again,
as shown in Listing 4.3.
$ ucr set umc/oidc/rp/server="portal.extern.test"
$ univention-run-join-scripts --force \
   --run-scripts 92univention-management-console-web-server
$ systemctl restart slapd
Important
If you want to run multiple Portal/UMC servers behind a load balancer, you need to run these commands on all UCS systems.
Since all the systems use the same OIDC client in this setup,
make sure that the file /etc/umc-oidc.secret has the same contents
on each system and matches the client secret in Keycloak
for that client.
Back-channel sign-out#
If you use OIDC back-channel sign-out together with multiprocessing of the UMC,
the UMC needs a database for session storage to handle the session logout correctly.
You have enabled multiprocessing in UMC
if the Univention Configuration Registry Variable umc/http/processes has a value greater than one (> 1).
If you have only one UMC server without UMC multiprocessing, you don’t need to change the configuration.
To keep track of the sessions in the database for UMC, you need to configure the database connection string with the univention-mangement-console-settings script, as shown in Listing 4.5.
However, if the Univention Portal or UMC uses multiple UCS servers for load balancing, or if UMC has a configuration for multiprocessing, it’s necessary to use a PostgreSQL database that all the UCS systems can access. In these cases, you must consider the following aspects:
PostgreSQL database server:
You either need to provide a PostgreSQL database yourself that all the UMC servers have access to.
Or you install and configure PostgreSQL on one of the UCS servers. As shown in the example in Listing 4.4, you can freely choose the values for
db_user,db_name, anddb_password.db_hostis the UCS system with PostgreSQL running.$ univention-install univention-postgresql $ su postgres -c "createdb db_name" $ su postgres -c "/usr/bin/createuser db_user" $ su postgres -c "psql db_name -c \"ALTER ROLE db_user WITH ENCRYPTED PASSWORD 'db_password'\"" $ ucr set postgres11/pg_hba/config/host="db_name db_user 0.0.0.0/0 md5" $ systemctl restart postgresql
Set the SQL connection URI on the Primary Directory Node:
$ univention-management-console-settings set \
   -u 'postgresql+psycopg2://db_user:db_password@db_host:5432/db_name'
Optional parameters for the database connection pool:
Pool Size: The number of connections to the database. The default value is5.Max Overflow: The maximum number of temporary connections. The default value is10.Pool Timeout: The number of seconds to wait for a connection to be available. The default value is30.Pool Recycle: The number of seconds after which a connection is recycled. The default value is-1.
With these default values, each UMC process can have up to 15 connections to the database. The total number of connections is:
<Number of Servers> * <Number of Processes> * (<Pool Size> + <Max Overflow>). Make sure that the database can handle the number of connections.$ univention-management-console-settings set \ -s 5 \ -o 10 \ -t 30 \ -r 3600
Restart the UMC on all UCS servers:
$ systemctl restart univention-management-console-server
Important
The feature for the refresh of the portal tabs on sign-out or session timeout requires PostgreSQL.
You can also use a local SQLite database for one UMC server with multiprocessing, or you can use MariaDB as central database for multiple load-balancing UMC servers. In both cases, the refresh of the portal tabs isn’t supported and won’t work, as it requires a PostgreSQL database.